This is my fourth year in semi-serious vegetable gardening and food forest-style experiments. All activities are guided by practices of regenerative agriculture like Permaculture, No-dig, and others. I did a lot of experiments and had more failures than successes, but I enjoy it. In the beginning, I started to track how much stuff I am producing. I dropped that rather quickly because I never reached frequent enough amounts to make it worth the effort. The few berries we had, got distributed to the mouths of the family or myself immediately. What I enjoy is iterating on my current gardening setup and using the experiences I’ve gained along the way. This year it was very obvious that all seedlings I’ve put into containers on the balcony or terrace did much better than everything I planted directly into the soil. Because of this, I decided that I am giving up on my garden soil and go container only. Let me explain.
Backstory
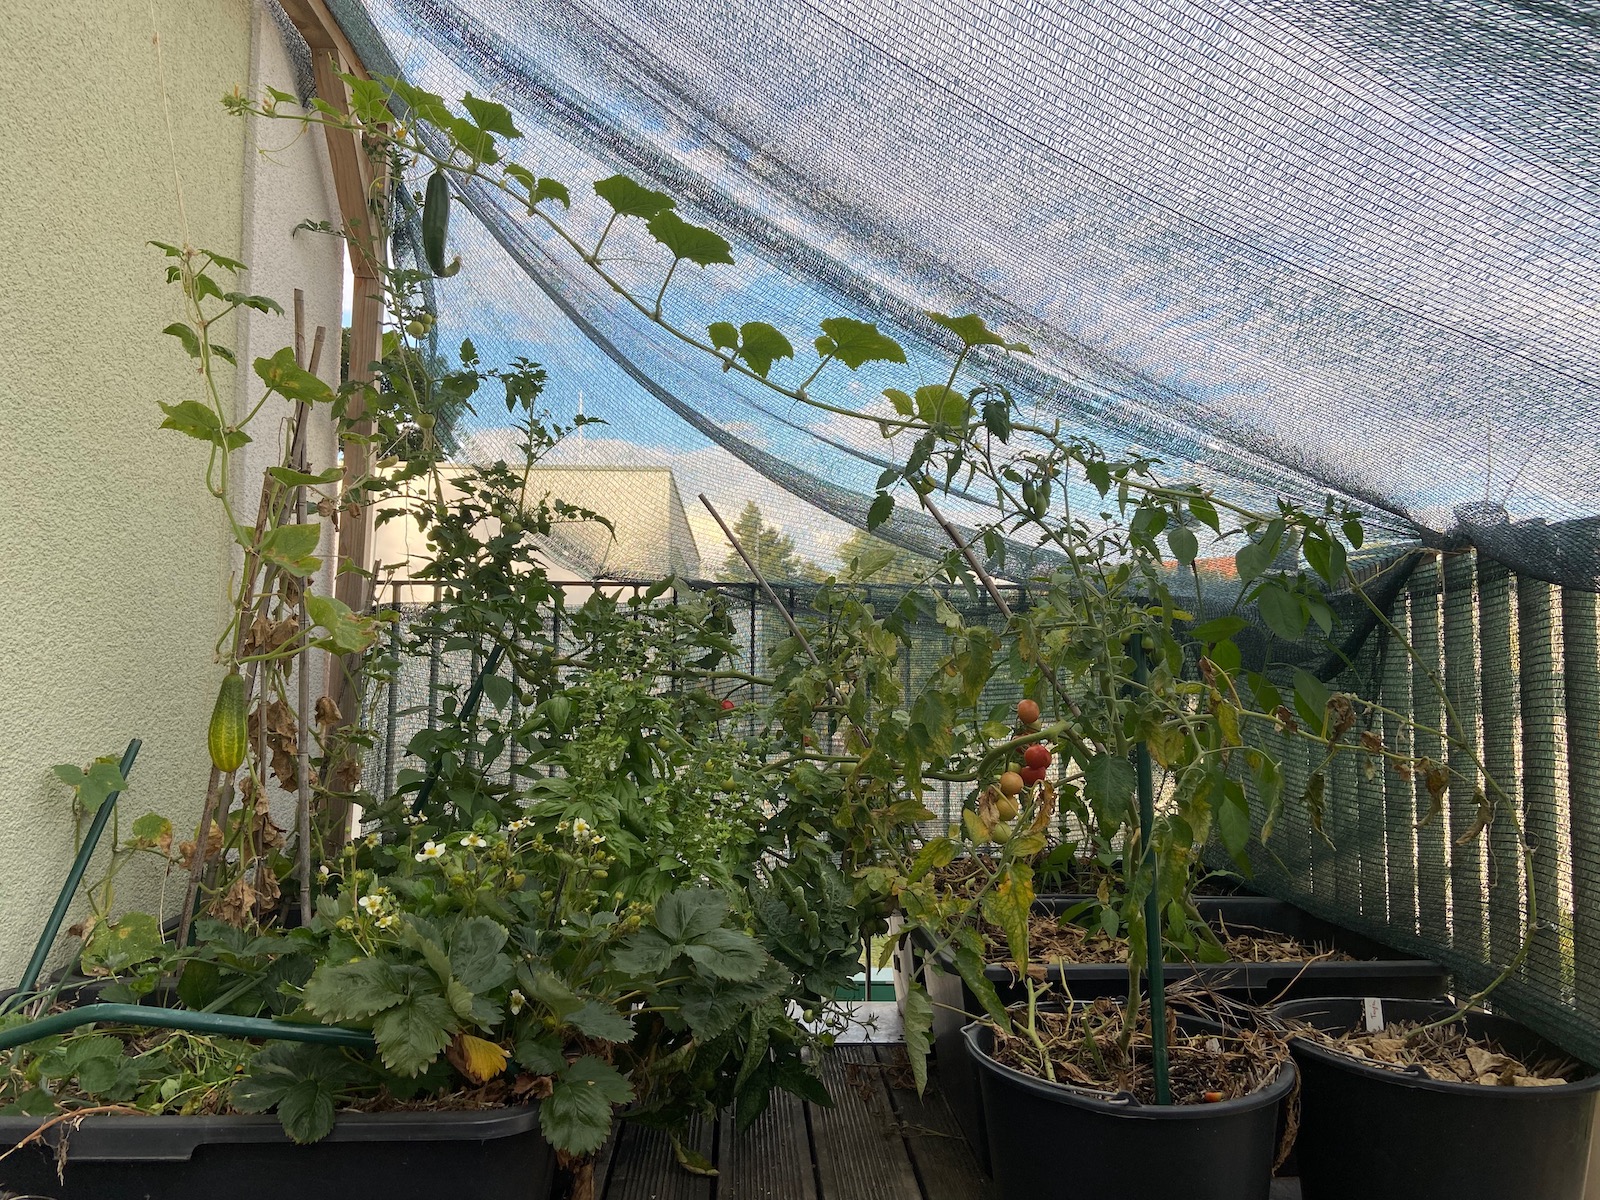
In the garden, we planted a couple of trees in the last years and what we found when digging holes, is basically that there is turf rolled over a 20cm layer of dead soil, and below is only debris from the construction of the building complex we are living in. This debris can be anything from pure concrete to 2 meters of deep sand. It is a nightmare. We started with only a few containers and pots on the balcony and prepared them based on the sheet mulching principle from Gaia’s Garden by Toby Hemenway (read below on exact directions on how you can do that too) and it worked pretty well. The breakthrough was when I added a 60% shade net to my south-facing balcony. Since then, whatever I put in there turns out quite good with minimal care.
How to set up a permaculture container garden
Finding a place
Almost all space on a balcony, patio, or even windowsill is good, as long as it gets decent light and at least a few hours of direct sunlight over the day. Don’t worry too much about it in the beginning and keep experimenting.
Choosing containers
The best containers are the ones you already have or can source for free. I started with blue big IKEA bags but figured their plastic decomposed in the sun. So I moved to cheap 90L containers for mixing cement from the hardware store. They were around 3-4€ each. Ensure the containers have a good size — and these sizes worked the best for me. Smaller containers led to the plants lacking a bit of nutrition due to root crowding.
Preparing the containers
Fill the containers with potting soil you either source from your garden, a neighbor or buy. I think you can go with the cheapest since you will amend later anyways. Fill it up until around 10-20cm below the top of the container.
Prepare the sheet mulching
I went with the following layers, (inspired by Gaia’s Garden) but get creative with the things you have.
(from bottom to top)
- Cardboard
- Compost
- Straw/hay/grass clippings
- Amendments like chicken/cow/horse manure or limestone or similar
- Compost
- A thick layer of straw/hay/grass for mulch
- (optional) some conifer branches or anything else which prevents the straw layer to get blown off by the wind
Watering
Containers are more sensitive to drying out than garden soil, so keep an eye on regular watering. If you have, you can add a dripping system but I recommend you start without to save money and time and get a feeling for how much water your plants need.
Timing
The biggest challenge I’ve had in the beginning was timing. So make sure to follow some simple rules
- research planting, transplanting, seeding times
- prepare the containers as described above as early as possible (weeks or months if you can)
- get a hold of prepared/finished compost and either mix it into your soil, or top-dress once you’ve planted
Keep going
Besides adding the plants to the containers, taking care of the plants, harvesting, I am not doing anything with the containers. At the end of the season, I just cut everything left standing at the soil level (just above the roots) and put it back (“chop and drop”), leaving the soil undisturbed (“no-dig”). In the fall, after everything is harvested, I add new layers to the top. There I have no rules, sometimes it is just the old plants from the season, sometimes compost. This year I want to try adding kitchen scraps directly there. I always cover with dried grass or similar in the end to create a protected environment for the critters and bacterias to do their job. You can create a good pile on the containers since it will get smaller again when it is decomposing and you have a lively pot, ready for when the new season starts.
The message I want to pass on here is: While info on regenerative practices for container-only setups is scarce, it’s a valid approach, and in urban settings like mine, it can even be the superior way.
🌱✌️ Ben